Modern Android-based projectors like Nebula, XGIMI, and ViewSonic allow easy IPTV setup through popular apps. Here’s how to get started:
1: Connect and Set Up Your Projector
- Power on your projector and connect to Wi-Fi
- Sign in with your Google account
- Ensure your projector runs Android TV OS or Android 9+
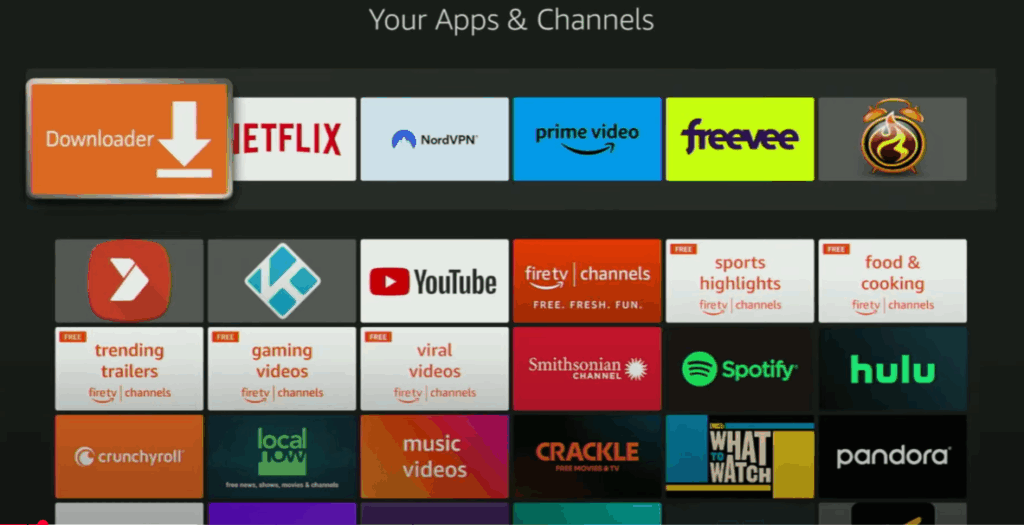
2: Install an IPTV App via Google Play
- Go to the Google Play Store
- Search for popular IPTV apps like:
- IPTV Smarters Pro
- TiviMate
- OTT Navigator
- Click Install and wait for it to finish

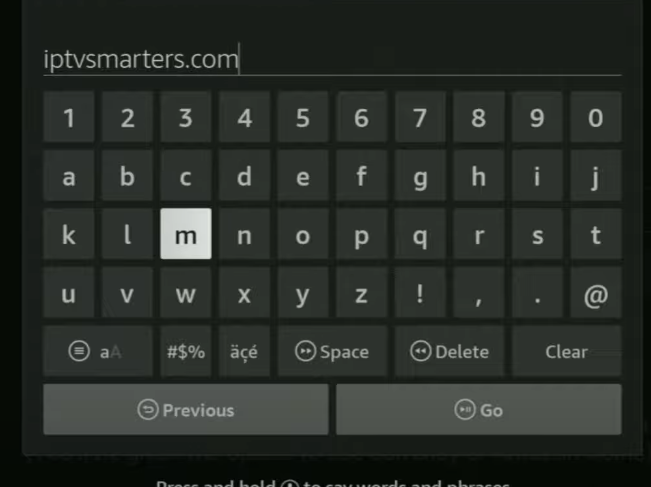
3: Open the IPTV App and Add Your Playlist
- Launch the IPTV app
- Choose your login method:
- M3U Playlist URL
- Xtream Codes API
- Upload a local M3U file via USB or internal storage
- Enter your IPTV credentials (provided by your IPTV provider)
- Tap Login or Add User
4: Adjust Display and Stream Settings
- Go into Settings within the IPTV app
- Enable EPG, adjust video player, or set parental controls
- For the best video quality:
- Use Ethernet adapter if possible
- Set output resolution to 1080p or 4K based on your projector
5: Start Watching IPTV on the Big Screen
- Navigate through Live TV, Movies, or Series
- Use your remote or app controller to browse channels
- Enjoy cinema-style IPTV viewing on your projector
Tips for Smooth IPTV on Android Projectors
- Use a VPN if accessing geo-blocked or sensitive content
- Keep your projector firmware and app updated
- Use an external Bluetooth remote or gamepad for easier control
- Opt for TiviMate Premium for advanced channel management